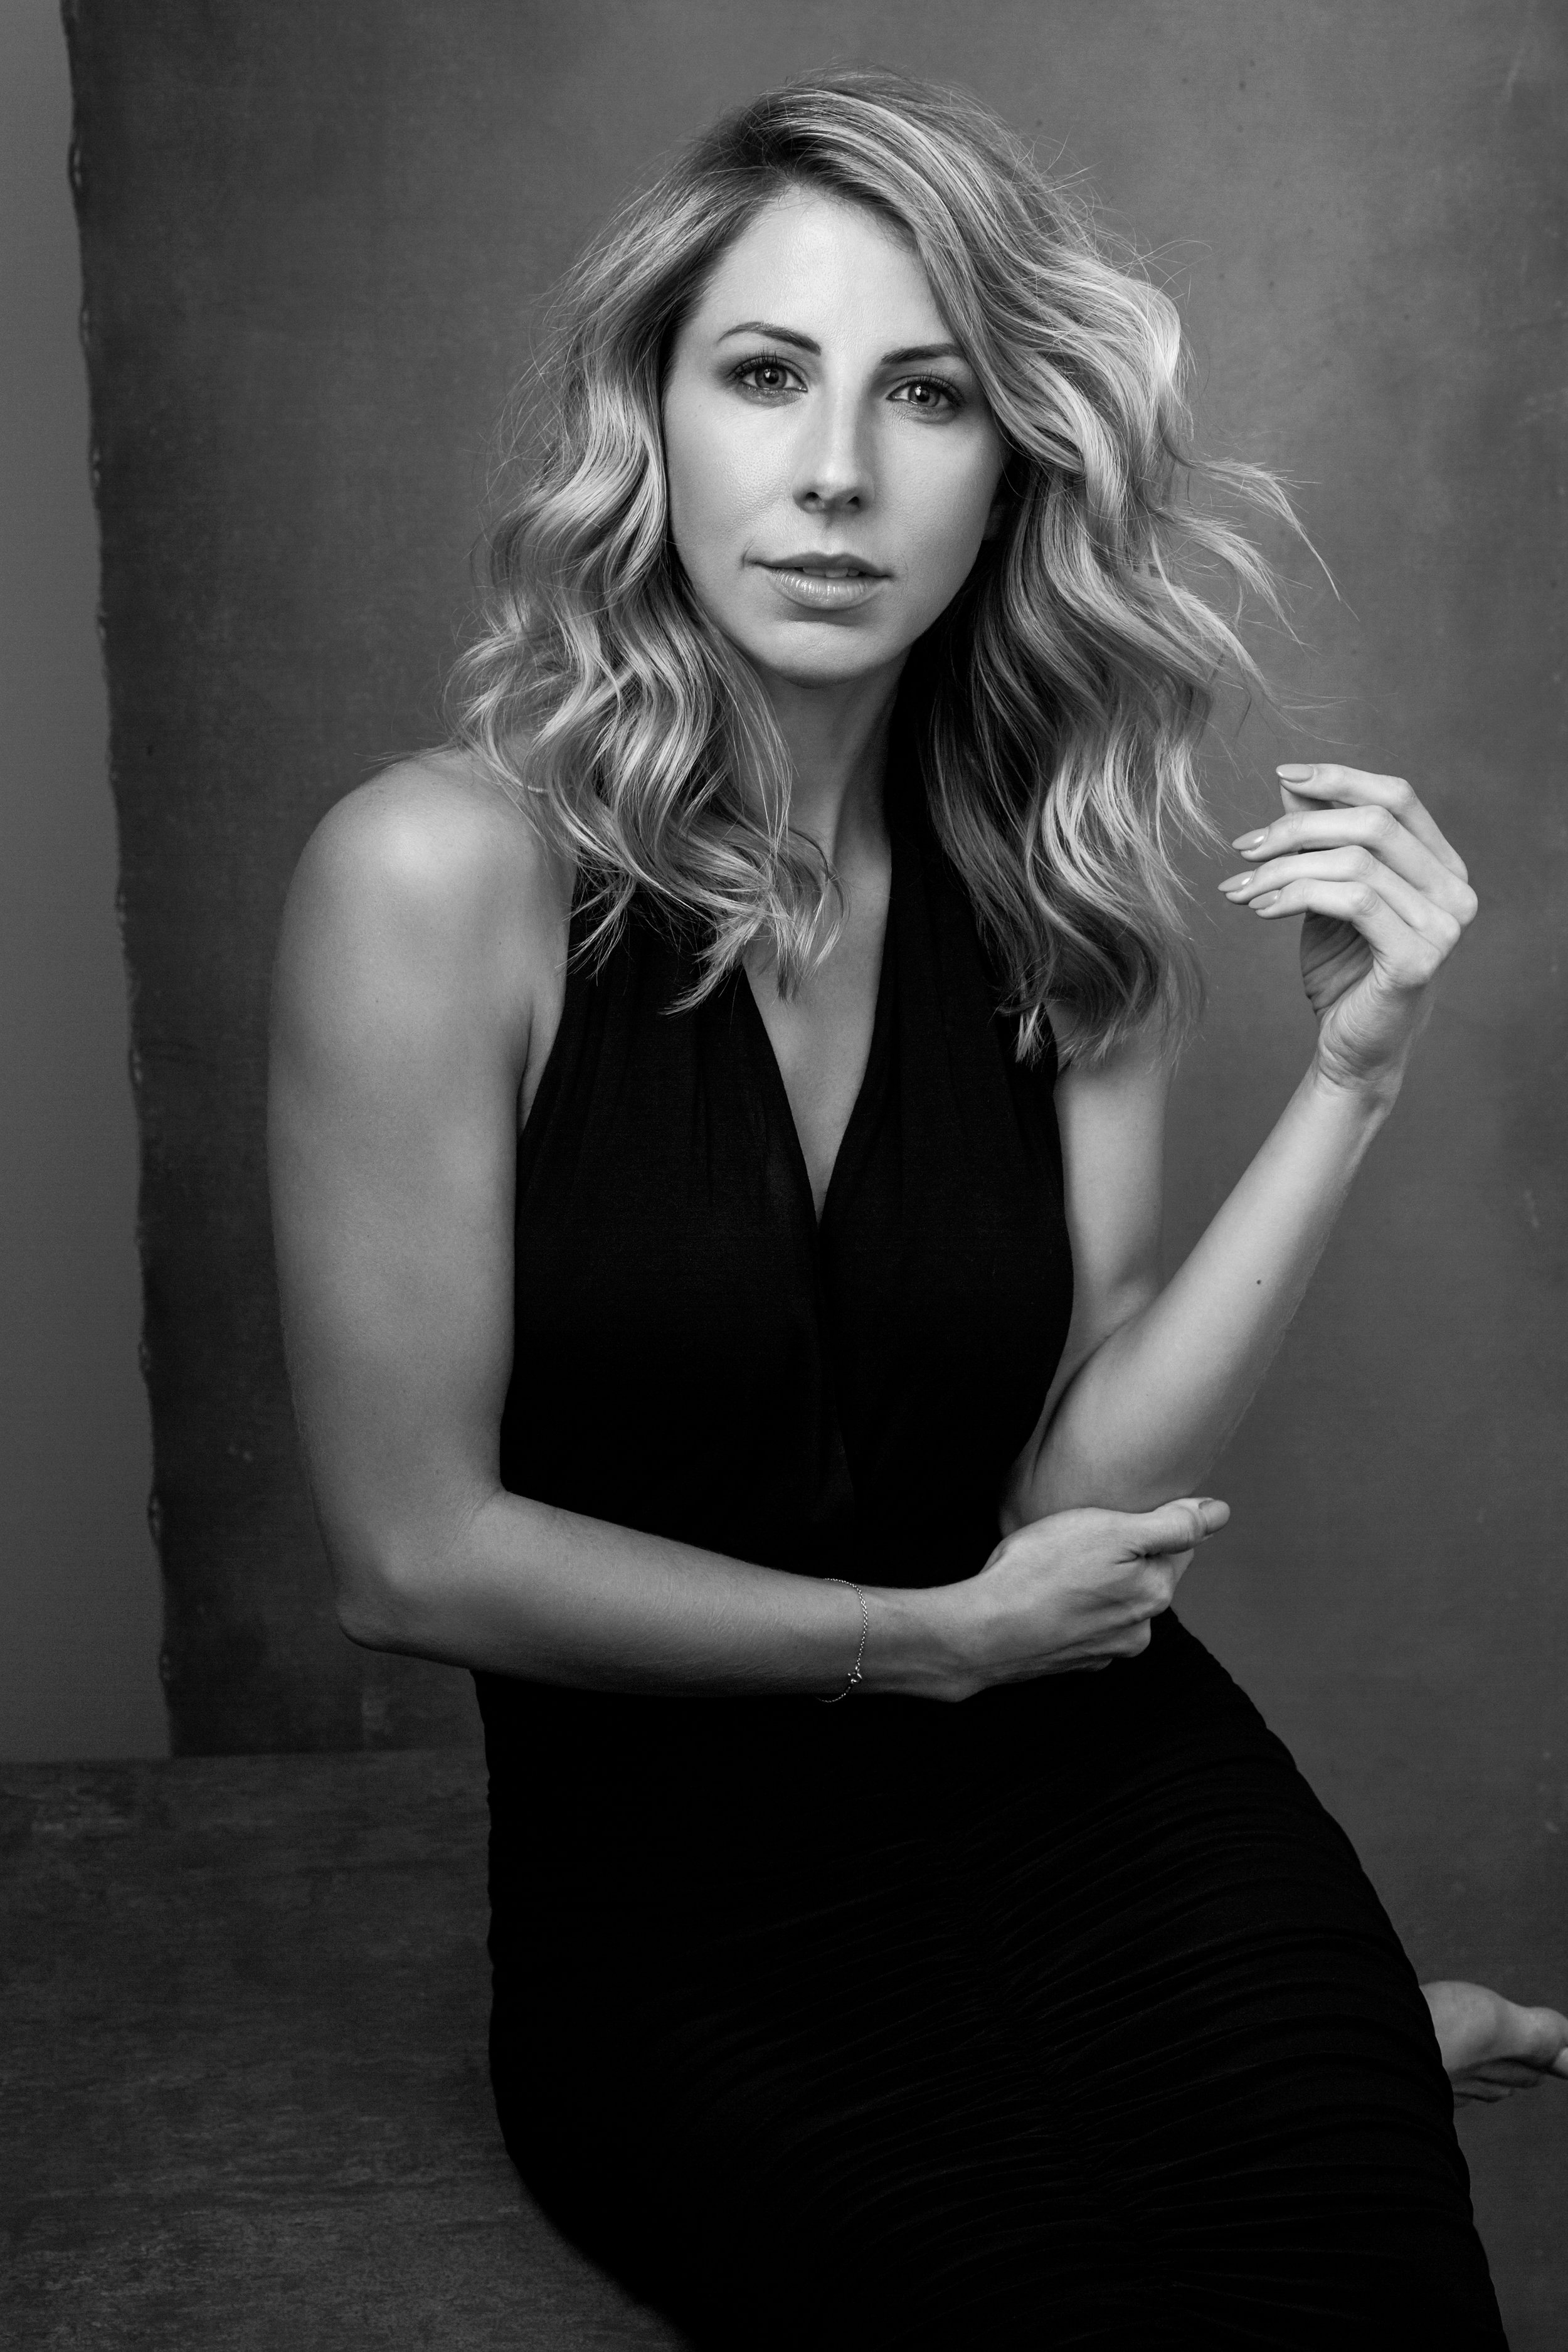
In this tutorial, you'll see how I edit a back-lit glamour portrait in Photoshop. Learn how to enhance eyes, add in a catch-light and extra eyelashes, correct skin using the clone stamp tool, change the shape of the hair and clothing using liquify, apply skin asmoothing filter (Aperture Portraiture), and use Alien Skin Exposure 4 for a fine-art look.
You'll also get a look at my workflow, beginning with Lightroom, into Photoshop, and back to Lightroom to keep the editing as streamlined as possible.
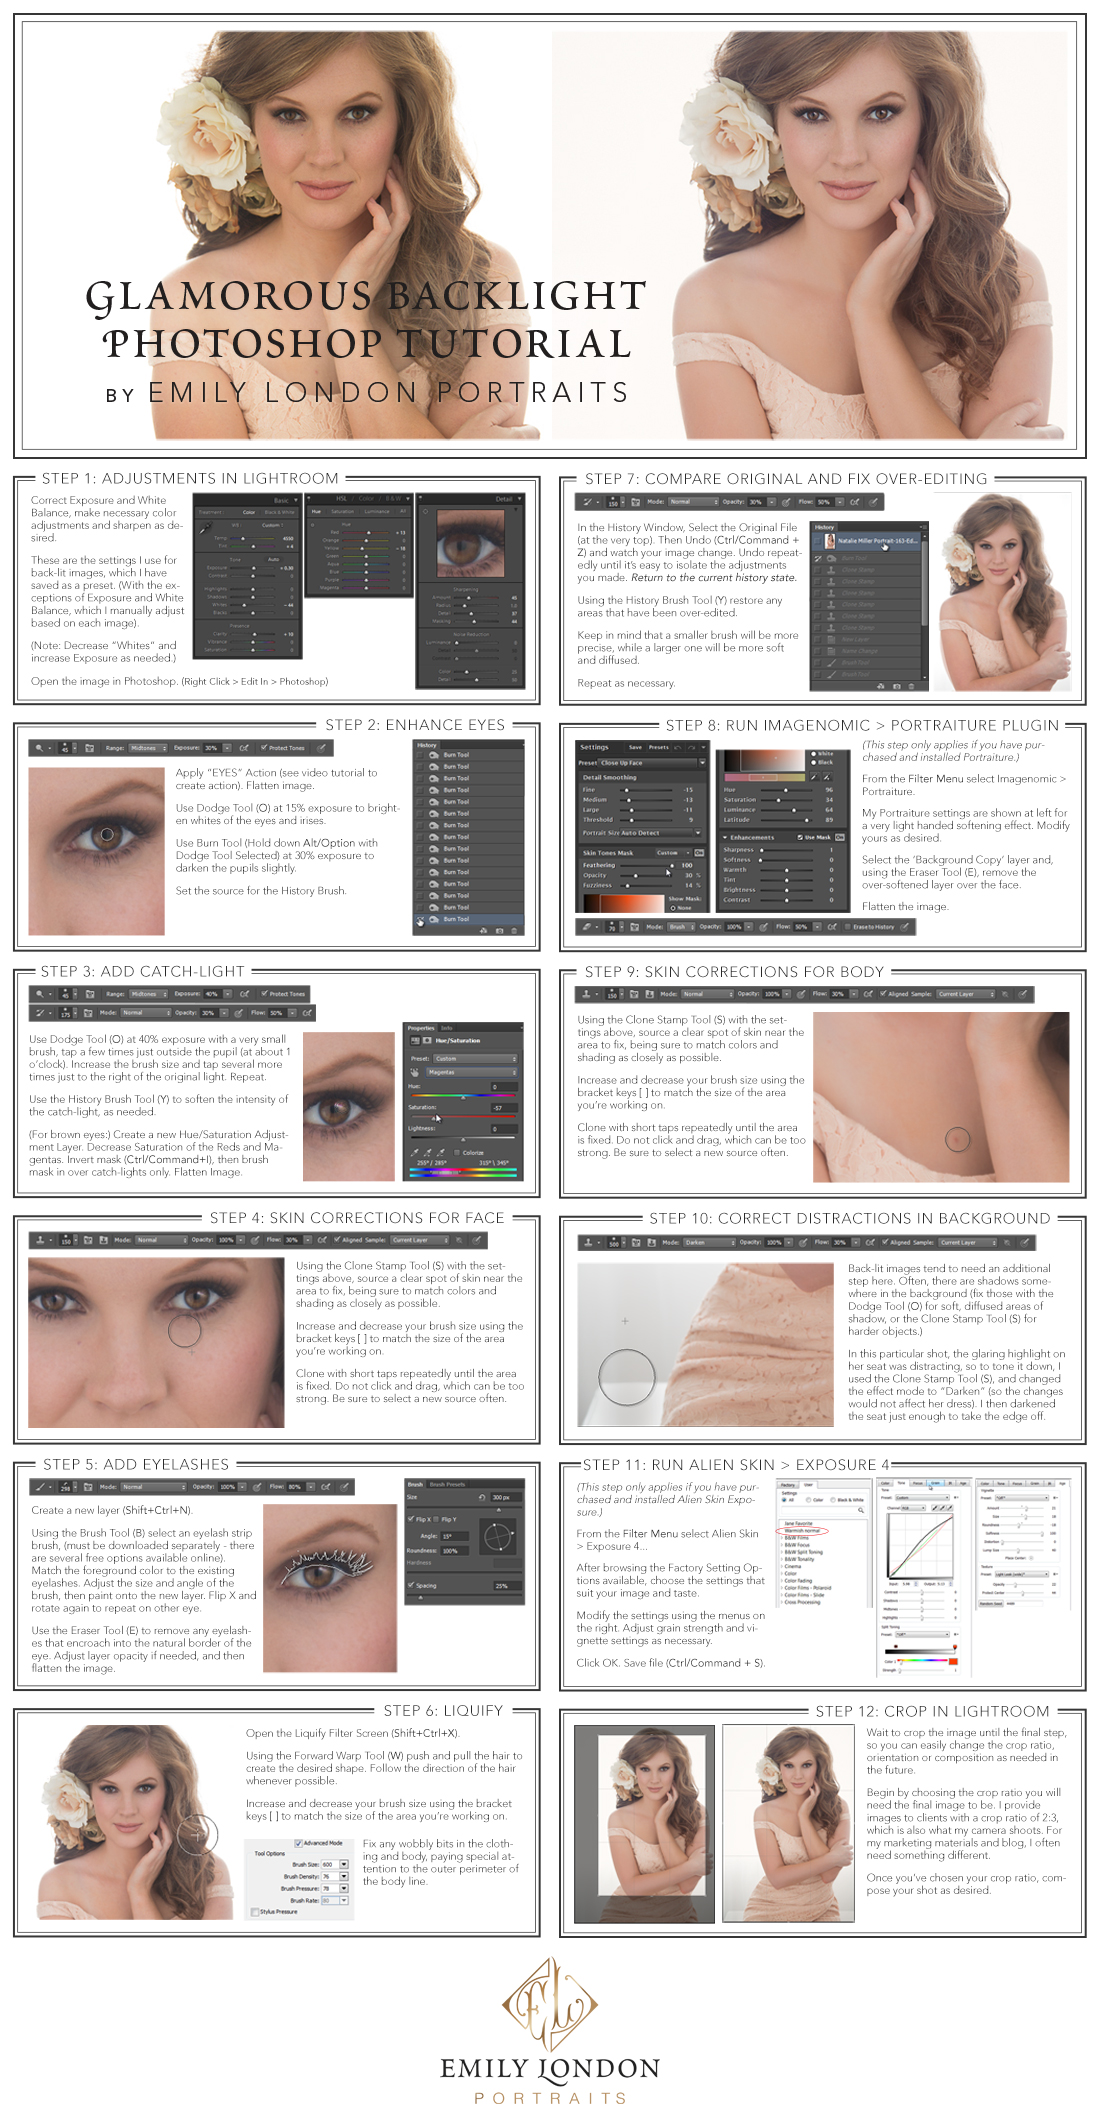
Follow along with this full-sized PDF Guide to view detailed setting information.
%2C%20and%20use%20Alien%20Skin%20Exposure%204%20for%20a%20fine-art%20look.%20)
Step 1: Adjustments in Lightroom
Correct Exposure and White Balance, make necessary color adjustments and sharpen as desired.
These are the settings I use for back-lit images, which I have saved as a preset. (With the exceptions of Exposure and White Balance, which I manually adjust based on each image).
(Note: Decrease “Whites” and increase Exposure as needed.)
Open the image in Photoshop. (Right Click > Edit In > Photoshop)
Step 2: Enhance Eyes
Apply “EYES” Action (subscribe to access the video tutorial to create action in Photoshop). Flatten image.
Use Dodge Tool (O) at 15% exposure to brighten whites of the eyes and irises.
Use Burn Tool (Hold down Alt/Option with Dodge Tool Selected) at 30% exposure to darken the pupils slightly.
Set the source for the History Brush.
Step 3: Add Catchlight
Use Dodge Tool (O) at 40% exposure with a very small brush, tap a few times just outside the pupil (at about 1 o’clock). Increase the brush size and tap several more times just to the right of the original light. Repeat.
Use the History Brush Tool (Y) to soften the intensity of the catch-light, as needed.
(For brown eyes:) Create a new Hue/Saturation Adjustment Layer. Decrease Saturation of the Reds and Magentas. Invert mask (Ctrl/Command+I), then brush mask in over catch-lights only. Flatten Image.
Step 4: Skin Corrections for Face
Using the Clone Stamp Tool (S) with the settings above, source a clear spot of skin near the area to fix, being sure to match colors and shading as closely as possible.
Increase and decrease your brush size using the bracket keys [ ] to match the size of the area you’re working on.
Clone with short taps repeatedly until the area is fixed. Do not click and drag, which can be too strong. Be sure to select a new source often.
Step 5: Add Eyelashes
Create a new layer (Shift+Ctrl+N).
Using the Brush Tool (B) select an eyelash strip brush, (must be downloaded separately - there are several free options available online. Google “Free Eyelash Brush Set Photoshop”). Match the foreground color to the existing eyelashes. Adjust the size and angle of the brush, then paint onto the new layer. Check "Flip X" and rotate again to repeat on other eye.
Use the Eraser Tool (E) to remove any eyelashes that encroach into the natural border of the eye. Adjust layer opacity if needed, and then flatten the image.
Step 6: Liquify
Open the Liquify Filter Screen (Shift+Ctrl+X).
Using the Forward Warp Tool (W) push and pull the hair to create the desired shape. Follow the direction of the hair whenever possible.
Increase and decrease your brush size using the bracket keys [ ] to match the size of the area you’re working on.
Fix any wobbly bits in the clothing and body, paying special attention to the outer perimeter of the body line.
Step 7: Compare Original and Fix Over-Editing
In the History Window, Select the Original File (at the very top). Then Undo (Ctrl/Command + Z) and watch your image change. Undo repeatedly until it’s easy to isolate the adjustments you made. Return to the current history state.
Using the History Brush Tool (Y) restore any areas that have been over-edited.
Keep in mind that a smaller brush will be more precise, while a larger one will be more soft and diffused.
Repeat as necessary.
Step 8: Run Imagenomic > Portraiture Plugin
(This step only applies if you have purchased and installed Portraiture.)
From the Filter Menu select Imagenomic > Portraiture.
My Portraiture settings are shown at left for a very light handed softening effect. Modify yours as desired.
Select the ‘Background Copy’ layer and, using the Eraser Tool (E), remove the over-softened layer over the face.
Flatten the image. (Ctrl/Command + E)
Step 9: Skin Corrections For Body
Using the Clone Stamp Tool (S) with the settings above, source a clear spot of skin near the area to fix, being sure to match colors and shading as closely as possible.
Increase and decrease your brush size using the bracket keys [ ] to match the size of the area you’re working on.
Clone with short taps repeatedly until the area is fixed. Do not click and drag, which can be too strong. Be sure to select a new source often.
Step 10: Correct Distractions in Background
Back-lit images tend to need an additional step here. Often, there are shadows somewhere in the background (fix those with the Dodge Tool (O) for soft, diffused areas of shadow, or the Clone Stamp Tool (S) for harder objects.)
In this particular shot, the glaring highlight on her seat was distracting, so to tone it down, I used the Clone Stamp Tool (S), and changed the effect mode to “Darken” (so the changes would not affect her dress). I then darkened the seat just enough to take the edge off.
Step 11: Run Alien skin > Exposure 4
(This step only applies if you have purchased and installed Alien Skin Exposure.)
From the Filter Menu select Alien Skin > Exposure 4...
After browsing the Factory Setting Options available, choose the settings that suit your image and taste.
Modify the settings using the menus on the right. Adjust grain strength and vignette settings as necessary.
Click OK. Do not flatten image. Save file (Ctrl/Command + S).
Step 12: Crop in Lightroom
Wait to crop the image until the final step, so you can easily change the crop ratio, orientation or composition as needed.
Begin by choosing the crop ratio you will need the final image to be. I provide images to clients with a crop ratio of 2:3, which is what my camera shoots. For my marketing materials and blog, I usually need something different.
Once you’ve chosen your crop ratio, compose your shot as desired.